5 Steps: Install Water Flow Restrictors Like Pro
Installing water flow restrictors is a game-changer for your shower, and it's super simple! First, gather your tools: an adjustable spanner, pliers, Teflon tape, and sealant. Next, check your water pressure to make sure you're all set. When you're ready, turn off the water supply, unscrew your shower head, and apply Teflon tape for a snug fit. Now, install that restrictor according to the instructions, turn the water back on, and voila! Keep an eye out for leaks and make routine checks to maintain performance. Ready to transform your shower even further? There's more to explore!
Key Takeaways
- Turn off the water supply to avoid unexpected leaks during installation.
- Remove the shower head, clean it, and check for any debris or mineral buildup.
- Apply Teflon tape to the shower arm's threads for a secure seal before installing the flow restrictor.
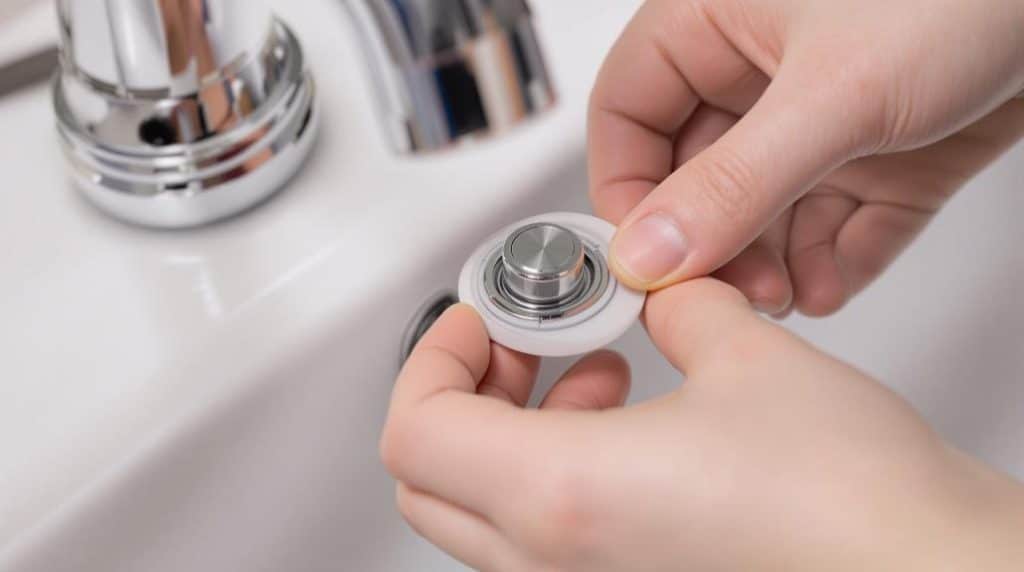
- Insert the flow restrictor according to the manufacturer's instructions, ensuring it fits properly.
- Test the water flow after installation to confirm proper functioning and check for leaks.
Gather Tools and Materials
Before diving into the installation process, it's essential to gather the right tools and materials. Trust me, this step makes everything smoother, just like butter on warm toast!
You'll need an adjustable spanner or basin spanner to tackle those pesky fittings, along with needle-nose pliers for those tight spots. Don't forget Teflon tape or pipe dope; it's your best friend when it comes to sealing leaks.
Now, let's talk materials. You'll require a flow restrictor device, ideally one with a flow rate around 2.5 GPM for showerheads. Check if O-rings or gaskets are included, and grab some threaded fittings or adapters if needed.
Water-resistant tape or sealants will come in handy too. While you're at it, keep compatibility in mind. Verify everything matches your existing plumbing and local codes.
If you want to go all out, consider industrial-grade restrictors for durability. So, gather your tools and materials, and you'll be ready to tackle this project like a pro!
Perform Pre-Installation Checks
To guarantee a smooth installation, you should perform a few essential pre-installation checks.
These steps help confirm everything goes according to plan, saving you from unexpected hiccups down the road. Trust me; you don't want to be knee-deep in water when you realise something's off!
1. Check Water Pressure****: Use a gauge to see if your water pressure exceeds 5.5 bar.
If it does, consider installing a pressure-reducing valve to avoid any flow restrictor performance issues.
2. Verify Compatibility: Make sure your flow restrictor matches your plumbing system.
Check for thread types like NPT, BSP, or metric. Also, confirm it suits your water temperature and quality.
3. Understand Flow Rate Requirements****: Calculate the desired flow rate for your specific application, like a showerhead or tap.
Check the flow restrictor's specs and confirm it meets local regulations.
Follow Installation Steps
With the pre-installation checks complete, you're ready to tackle the installation steps for your water flow restrictor. First, turn off the water supply—trust me, you don't want a surprise shower during this process!
Next, unscrew and remove your shower head from the shower arm. While you're at it, give the shower head a good clean to remove any debris or mineral buildup. A clean head means ideal water flow!
Now, grab some Teflon tape and wrap it around the threads of the shower arm. This helps create a tight seal and keeps leaks at bay. Make sure your flow restrictor is compatible with your plumbing lines.
Once you've got everything ready, follow the manufacturer's instructions to install the restrictor. Insert it into the shower arm, then screw the shower head back on snugly.
Finally, secure all connections tightly. When everything's in place, turn the water supply back on and test the flow. You should notice a difference, and your water bill will thank you later!
Installing a flow restrictor not only conserves water but also keeps your shower experience enjoyable. Happy installing!
Troubleshoot Common Issues
How can you tell if your flow restrictor is causing issues? If you're experiencing inconsistent water flow, it might be time to investigate. Here are three common signs to look out for:
- Leaks: If you notice water pooling around fittings, this could indicate improper installation or damage. Cracks in the restrictor itself can be a sneaky culprit, leading to significant water loss.
- Low Pressure: If your water pressure feels weak, clogged flow restrictors could be the issue. Debris or mineral buildup from hard water can block the water flow, making your shower feel more like a sprinkle.
- Weird Noises: If your pipes are making strange sounds, it might be due to pressure fluctuations. Incorrect sizing or failure to bleed air can lead to these annoying noises.
Don't forget, regular inspections and cleaning are essential for keeping things flowing smoothly.
If you follow these tips and stay on top of maintenance, you'll enjoy a consistent water flow and save yourself from future headaches.
Plus, who doesn't love a good, strong shower?
Conduct Post-Installation Verification
Once you've installed the flow restrictor, verifying its installation is vital for peak performance. You wouldn't want to find out something's amiss after everything's put together, right? So, let's explore the key checks you need to perform to guarantee everything's running smoothly.
| Verification Step | What to Check | Why It's Important |
|---|---|---|
| Check Connections | Confirm all connections are secure | Prevents leaks and guarantees proper flow |
| Flow Restrictor Placement | Verify it's inline without obstruction | Secures optimal water flow |
| Supply Line Integrity | Inspect for damage or leaks | Keeps your plumbing system safe from issues |
| Device Compatibility | Confirm it fits the appliance | Guarantees effective operation |
| Regulatory Compliance | Check for plumbing code adherence | Keeps you compliant with local standards |
Testing the system is just as important; measure the flow rate and check for leaks. You can even monitor performance to catch issues early. Remember, a well-verified installation not only saves resources but also extends the life of your appliances. So, roll up your sleeves and get checking—you've got this!
Conclusion
And there you have it! By following these five simple steps, you've just installed water flow restrictors like a pro. Not only will you save water and reduce your bills, but you'll also feel good about doing your part for the planet. Just remember, if you run into any hiccups, don't sweat it—troubleshooting is part of the fun! So, grab a glass of water, pat yourself on the back, and enjoy your eco-friendly victory!